
Step 1: Check the Sender Address
Don't just look at the display name. Expand the details to see the actual email address. Look for subtle misspellings (e.g., @rnicrosoft.com) or personal domains (e.g., @gmail.com) used for business matters.
Step 2: Analyze the Tone
Phishing emails often use urgency or fear to make you act quickly without thinking. Be wary of requests for immediate payment, password resets, or threats of account suspension.
Step 3: Inspect Links and Attachments
Hover over links to see the actual URL destination. Does it match the company's legitimate website? Never open unexpected attachments, especially ZIP or EXE files, or office documents requiring macros.
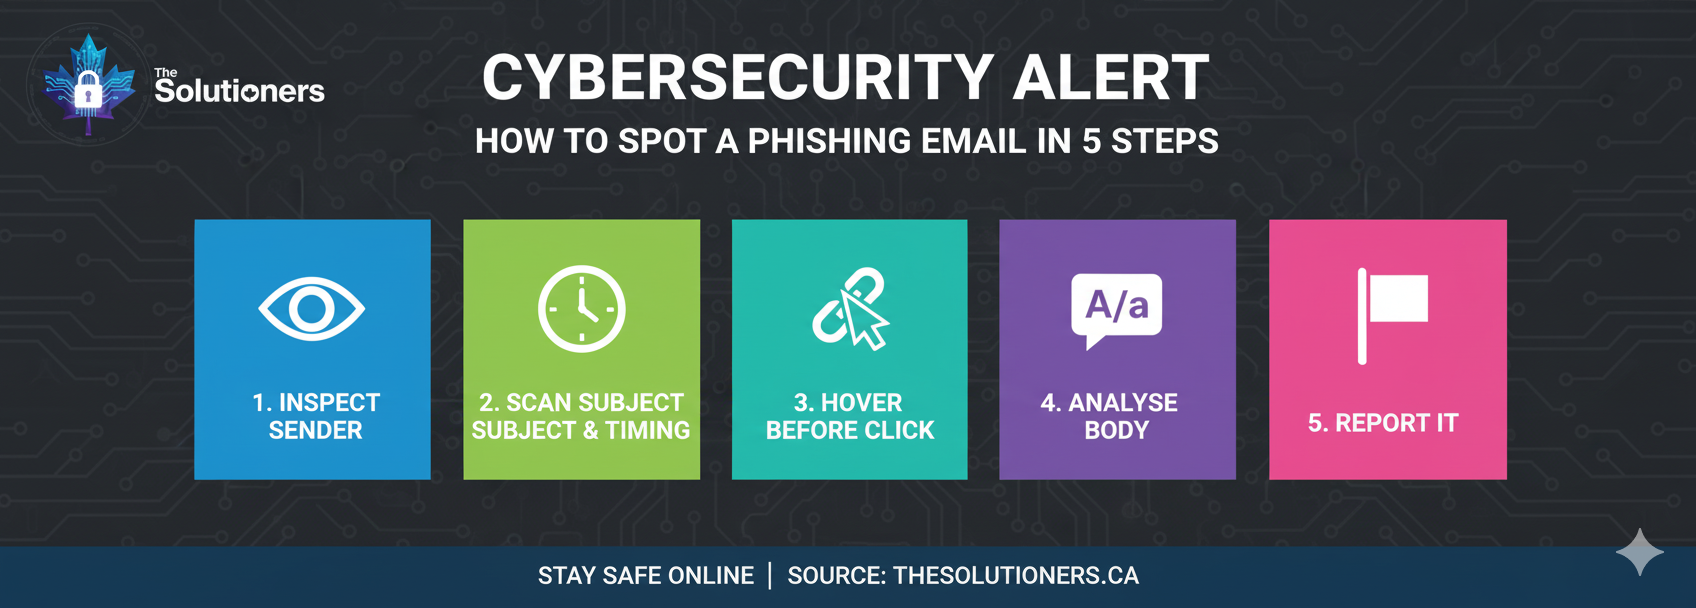
Step 4: Verify the Request
If an email asks for a wire transfer or sensitive data, verify it through a secondary channel. Call the sender using a known number, or message them on a verified platform like Teams or Slack.
Step 5: Report Suspicious Emails
If something feels off, report it to your IT team or security provider immediately using the 'Report Phishing' button in Outlook or Google Workspace.
Quick Checklist
- Did you check the actual sender address?
- Is the tone urgent or threatening?
- Did you hover over links before clicking?
- Did you verify unusual payment requests?